How to Format a Manuscript for eBook Conversion
While several excellent ebook writing and conversion apps are available—from free to hundreds of dollars for every platform—most people still prefer writing in a traditional text editor. Personally, I can't imagine writing in anything other than Google Docs (and not only because of voice typing).
Besides this editor, you can go for Microsoft Word, Scrivener, or another word processor.
Most self-published authors today decide to convert their ebooks themselves only to realize many hours into the project that it might not be as easy as they have imagined.
This article explains formatting ebooks for conversion, regardless of whether you eventually decide to convert your book yourself or hire somebody. You can follow the advice we give from the first word you type in the editor (this is what we recommend) or applied to a manuscript you have already finished.
You can use this guide to prepare your manuscript (.docx) before using PublishDrive's converter for free.
Ebook Formatting: Why Is It Important?
Text editors and ebook converters might look similar on the outside but have very different purposes.
Word processors help users work with the text: write it, edit it, and share it with everyone afterward. They have built-in spell check, and most of them follow user changes and support different note-taking and highlight options.
Ebook editors, on the other hand, come into play once your book is ready. They are designed to create an epub that is difficult to change by the user and displays according to the publisher's intent on many different devices, whether a computer, a Kindle or a smartphone.
Since the idea behind ebooks and Word documents is so different, it is not surprising that they only look similar on the surface.
| Text Editors | Ebook Editors |
| What you see is what you get | Often use HTML language |
| Easy to make changes | More difficult to make changes |
| Easy to use local formatting | Ebooks formatting with stylesheet |
| Great for writing your book and preparing your manuscript | Great for ebook formatting / converting |
First, Two Golden Rules
A manuscript that you did not properly prepare for conversion will look bad and most likely get rejected by the stores for technical reasons. We don't want that for your book.
1. Keep it simple
Most ebook reader apps and devices let users customize the font size, font type, line & paragraph spacing, and even the background color or disable these settings altogether, which leaves them with a standard design.
While this is amazing from the reader's perspective, it also means that whatever ebook formatting you use will likely be overwritten by the user. Because of this, there is no need to spend hours selecting the perfect color for your headings; only a percentage of your final readers will keep it that way.
However, it doesn't mean that you should not use any formatting or that there is no use in creating a beautiful epub. Quite the contrary. But bear in mind that you must adhere to different standards when preparing your manuscript for publication.
2. Maintain consistency
There is one thing you certainly need to create a beautiful epub, and that's consistency.
When formatting an ebook in Word, make sure that everything is consistent throughout the book.
I know this is a no-brainer, but this is something everyone is best reminded of every now and again: if one of your paragraphs has a double line spacing and 12pt font size, the next should not be written in a smaller font just because you want to fit it on the same page.
Also, pay attention when you copy and paste something from another document or a website. It's easy to forget what your previous chapter title looked like or whether your paragraphs have a 1.15 or 1.5 line spacing. When you copy and paste the text into your word document, it's best to use the Paste without formatting option.
But anyway, the good news is you don't have to remember these formatting settings. In the next chapter, we'll tell you how to format a book in Word or Google Docs.
How to Format Your Manuscript
The inside of an eBook looks like a website. Although this is an oversimplification, an epub basically includes:
- HTML files: this is your book;
- a CSS file: a stylesheet, which contains all the formatting;
- a content.opf file: this has all the metadata helping the ebook readers display the cover, title, and author, use the correct character settings, and determine the language;
- a toc.ncx: this is a built-in mandatory Table of contents that appears when the user presses the TOC button.
However, there is no need to worry about any of these. The ebook conversion software will create all these parts automatically.
Your job is to make sure that your book format is ready when you send it for conversion so that the software can make the best out of it.
If your manuscript's format respects the standard guidelines, the "What you see is what you get" (visual) approach in Word will successfully "translate" into the HTML-like structure of the epub.
So how to format a book?
Follow these ebooks conversion steps to learn how to format a manuscript in Google Docs and Microsoft Word.
Before moving on, I must mention that from Google Docs, you can download the file directly as an .epub, but there are formatting options you can't find here. So you'll have to format it correctly from the start carefully.
In Word, you have some extra options for ebook formatting. For example, you can see the non-printable characters, while Google Docs doesn't have that option. In this case, you can write your manuscript in Docs, then check it once more in Word.
Nevertheless, they're both great editors to work with, and the choice is up to you.
OK, let’s see how to format your book.
1. Clear text formatting
For the stylesheet to work correctly and your book's formatting to be consistent, you will have to format using general styles instead of local formatting (styles format texts at a paragraph* level).
*A paragraph is a text between two forced line breaks. Your chapter titles are paragraphs as well.
To start with a clean slate, removing all formatting is best.
Yep, you gotta do it.
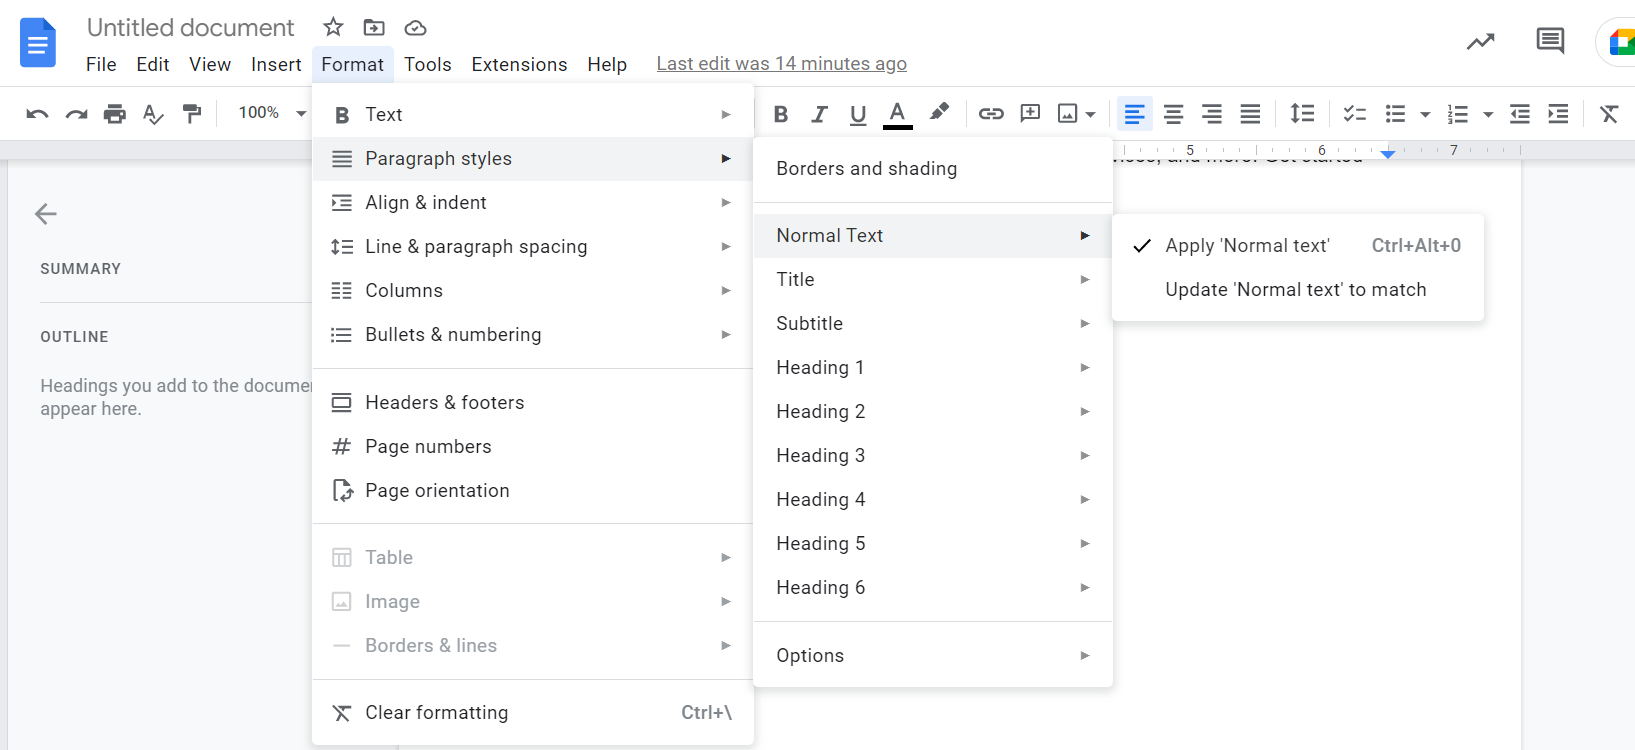
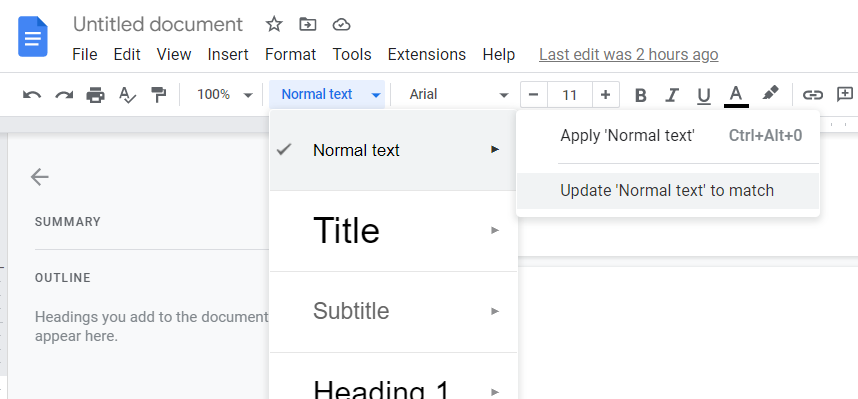
In Google Docs, press CTRL+A to select the entire text, then click on Format > Paragraph styles > Normal Text > Apply ‘Normal text’.
Or, you can simply select all the text by pressing CTRL+A, then on the Clear formatting option.

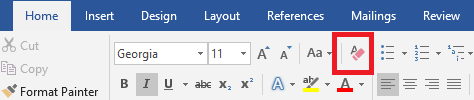
In Word, click the Clear all formatting button to remove all formatting.
Note: This will remove all formatting, including italics and bold. Whenever you wish to check if there’s still some local formatting left, press CTRL+A to select the whole document, then see if the Font and Font size fields are blank. If yes, there is still some local formatting left, and you need to do the clear formatting step again.
Note2: Don’t worry. This is not the final formatting of your book. We will add the formatting back again later.
2. Remove a few more formatting settings
Before we add the format for the manuscript again, let’s clean the manuscript properly.
- Automatic numbering
Numbered lists can work if your items are immediately one after the other, like this:
- item
- item
- item
Current epub standards cannot handle numbered lists if you are “breaking” the list somewhere and then trying to continue it again. This happens if you add extra blank lines or extra text between two items.
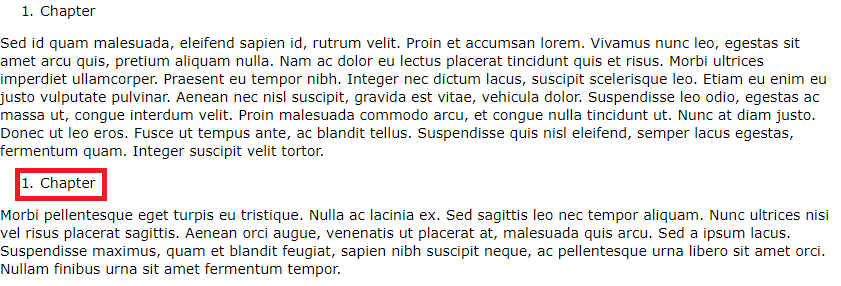
For example, what looks like this on your screen:
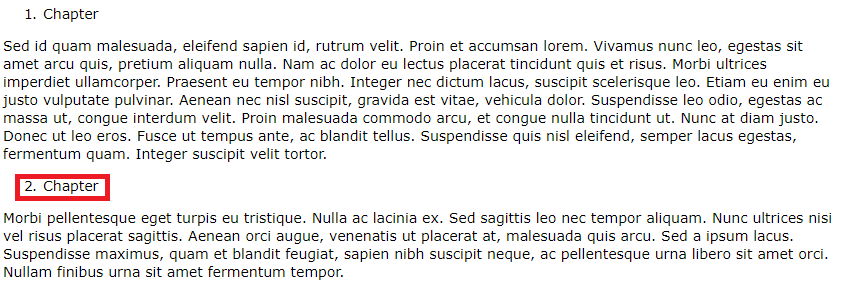
Will most likely look like this on the ebook reader:
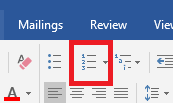
To switch off numbering, click the Numbered list button in Word:
In Word, you'll have to enter your numbers manually. If your book contains many paragraphs with automatic numbering and you would like to convert them all to "real" numbers, here is a trick you can try.
You'll also have to do this part manually if you work in Google Docs.
- Automatic bullet lists for dialogs
Automatic lists are often present for dialogs because, in many books, dialogs are signaled with a dash and not with a quotation mark. These lists happen because we press the minus button “-,” then on Space to write the dialogue. This turns the dialogue into a bulleted list.
Unfortunately, the length of the lines from a bulleted list and the length of the dashes from a dialogue are not the same.
Moreover, styles for bulleted lists are often predefined on ebook readers, and they often receive different formatting, making your book look unpleasant. If you are using bulleted lists for your dialogs, use the trick mentioned previously.
- Page numbers
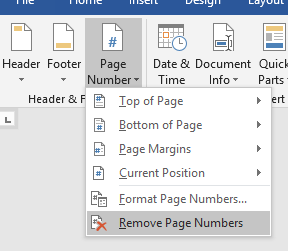
Delete any page numbers from the footers and/or headers. To do so in Word, double-click the top or bottom of the page to open the Headers and Footers menu, select the page number, and press Delete. Or, go to Insert > Page Number, and then choose Remove Page Numbers.
In Google Docs, you'll have to double-click on the top or bottom of the page (depending on where your page numbering is located) and simply delete the number on that page. The rest will get deleted too.
You should also delete any references to page numbers (e.g., don't say: see on page 20, say something like see in Chapter 1). You can easily do so by pressing CTRL+F and searching for the word "page."
- Table of Contents
Every book should have a Table of Contents, but the one you insert at the beginning of your document won't work. It either loses its ability to be clickable or keeps the page numbers. Therefore, we need to remove the Table of Contents—whether you're working in Google Docs or Word.
To remove your Table of Contents in Word, click on References > Table of Contents > Remove Table of Contents.
In Docs, you can select it and delete it.
Don't worry; we will make a new one later on.
- Forced line breaks
Did you solve the “widows and orphans” problem with a soft or hard line break from your text?
Let’s check it.
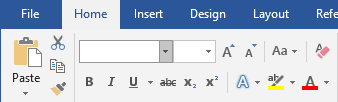
Select the Toggle formatting marks icon (❡) on the Home tab in Word to show all non-printing characters. This will display all “invisible” formatting signs. Your text will look somewhat like this:
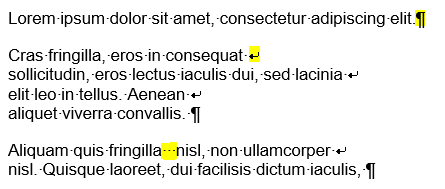
You will see a ❡ for every hard break (paragraph break) and a ⮐ (soft return) sign for every soft line break. The dots stand for space.
Make sure you only have paragraph breaks ❡ at the end of paragraphs and nowhere else. You cannot have paragraph breaks in the middle of a sentence.
If you leave the forced line breaks in the middle of the sentence, you end up with this:
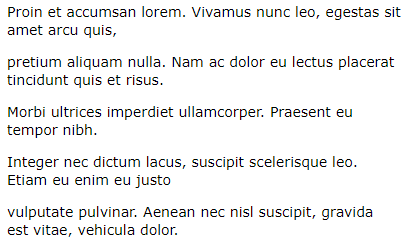
If you see any paragraph break or soft return that should not be there, simply delete it.
In Google Docs, there is no integrated option for this yet. I tried the Show add-on, which seemed like a good option, but it doesn’t work with the current version of Docs.
- Double spaces
This is a tiny mistake, but when someone reads your book, they may get annoyed seeing double-spaced places.
To fix this, press CTRL+H, then press Space twice ( ) in the Find field. Then go to the Replace field and press Space only once ( ). Click on Replace all, and you're done.
- Double paragraph breaks
Do not manually add extra breaks between paragraphs. At the end of the paragraph, it is enough to hit Return only once.
If you need some space between the paragraphs, we can add that later using styles. You can insert one line with three asterisks if you are signaling a substantial break within a chapter (a section or scene break to give the reader some time to breathe).
- Chapters on new pages
While starting a chapter on a new page is common, do not add more paragraph breaks to go to the next page. Since people will read your book on devices of many different types and sizes, it will mess up your book’s layout.
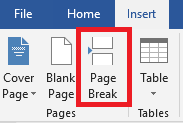
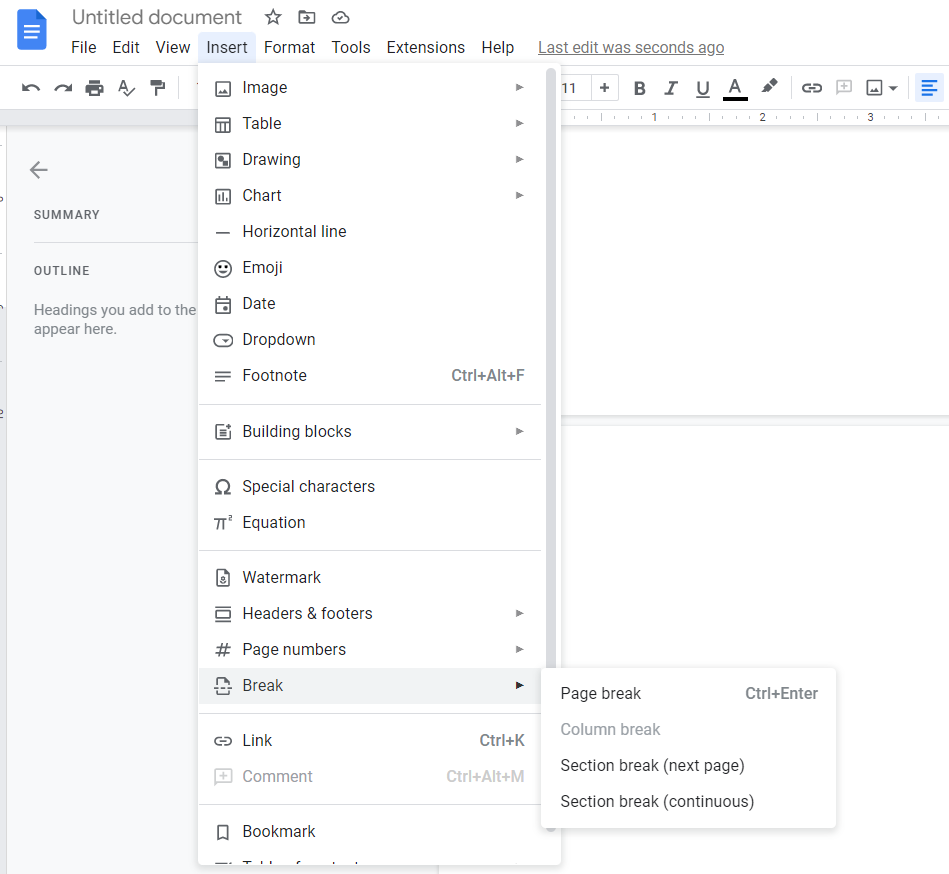
Use CTRL+Return to insert a page break before chapters to get your chapters to start on an empty page. You can also use the Insert Page Break function.
In Word:
In Google Docs:
- Tabs
Do not use tabs for aligning paragraphs. Remove them all for now, as we’ll add some indents later as styles.
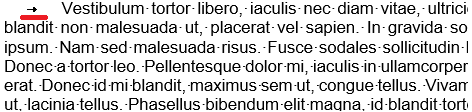
In Word, press the ❡ sign to show all hidden characters. The little arrow stands for tabulators, like in the picture below:
- Image wrapping
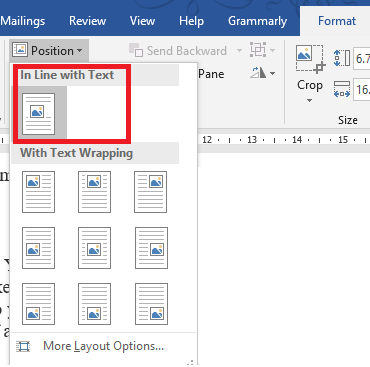
Images are best inserted between two paragraphs on a separate line, with the image wrapping setting off. To do this in Word, click on your image > Layout Options > and select In Line With Text.
You can also find this option in the Format menu, like in the picture below. This will ensure that your images are “anchored” to the correct place so that they will remain between these two paragraphs even after the conversion.
In Google Docs, you just need to click on the image, and you’ll have a few layout options available. Click on In line.
While it is possible to wrap images in epubs, beginners are not advised to experiment with this setting, as it usually results in bad formatting.
As part of the book format preparation, make sure that none of the images are larger than 4 megapixels (4 million pixels); and, of course, are of good quality and not pixelated.
When it comes to ebook formatting, 4 million pixels are enough to provide good quality without unnecessarily increasing the size of the book. Keeping the ebook size low is common courtesy as most of your readers will read the book on a device with limited storage capacities.
- Footnotes
Convert your footnotes into endnotes. Many tools for formatting ebooks would do this automatically, but you should do it yourself. You can decide to place them at the end of the book or at the end of each chapter. Here is a detailed guide on how to do this.
- Direct store links
You can format a manuscript and insert links to your website, social media, or Goodreads profile. However, keep in mind that ebook stores do not allow any links directing to competitors’ sites (i.e., links to other stores).
Also, you shouldn’t insert anything like “buy it on Amazon.com” or “review it on Google Books.” Use expressions like "Review the book in the store where you bought it."
How to Format Your eBook for a Smooth Conversion
OK, now that your text is clean, we can see how to format a book in Word or Google Docs and add a book formatting back again using styles.
1. Format the following:
Body text
The body text of your book is already styled as “Normal” text. You can format your paragraphs as you wish (including typefaces, sizes, etc.).
The most important decision at this stage is whether you want to use indents or spaces to separate your paragraphs. It is entirely up to you, but it’s not advised to use both.
If you are using indents, don't insert a tab in front of a paragraph (remember, we just removed those?) but use the ruler at the top, whether you're in Word or Google Docs.

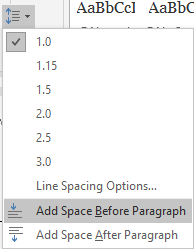
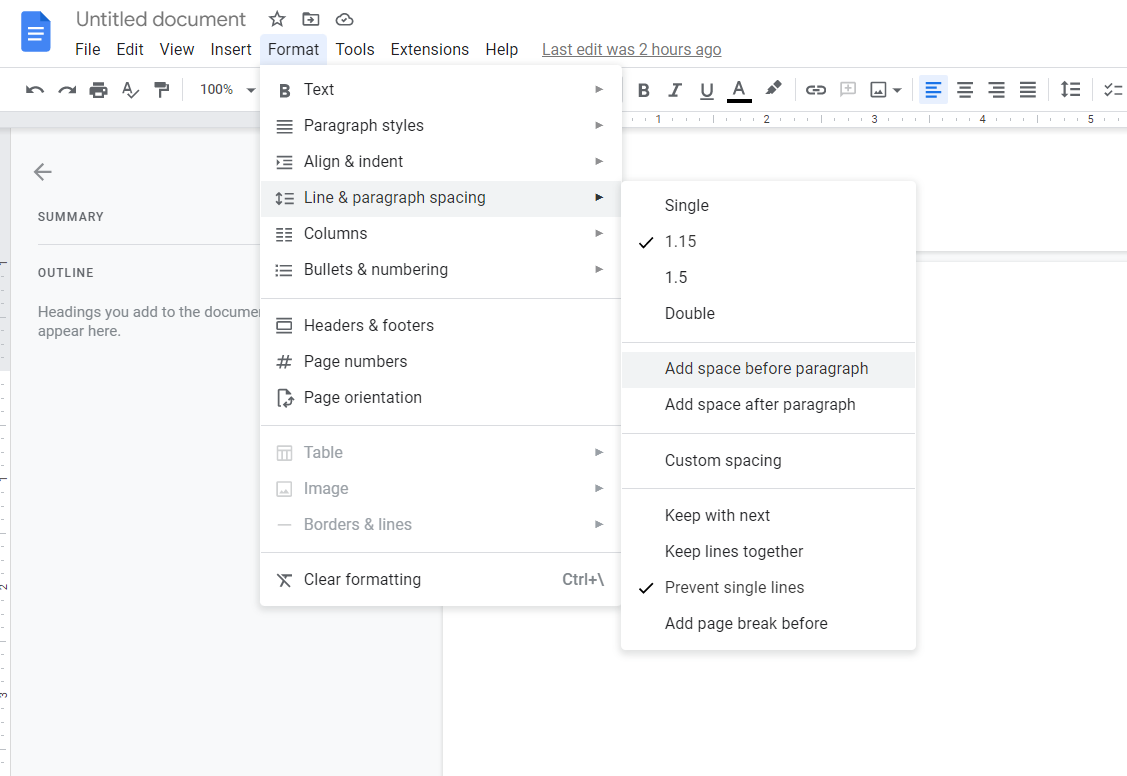
If you are using spaces, use the Add space before/after paragraph option. (Whichever makes more sense for you.)
In Word:
In Google Docs:
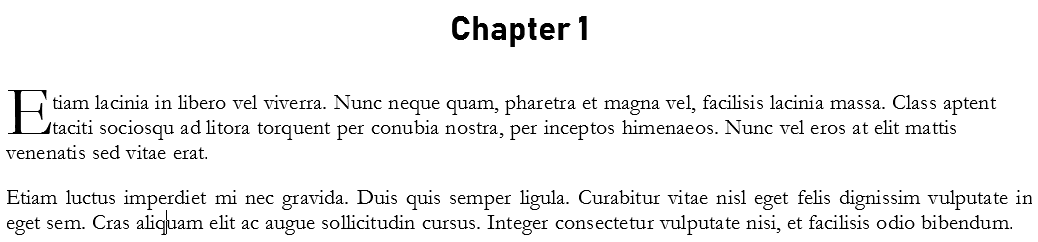
The following picture shows the difference between the two styles.

Styles
In Word, you can use the available styles to apply a set of formatting choices throughout your document quickly.

Or, you can change your paragraphs' style with one available in Word. You can do this in two different ways:
- Format a text according to a paragraph style from your book format
Select a paragraph in your document that has the style applied, such as Heading 1, bold, italic, etc. Then, go to the Home tab in the Styles group, right-click the style you want to change, and click Update [Style Name] to Match Selection.
- Format a text without having any other text for reference
On the Home tab, right-click any style in the Styles gallery and click Modify.
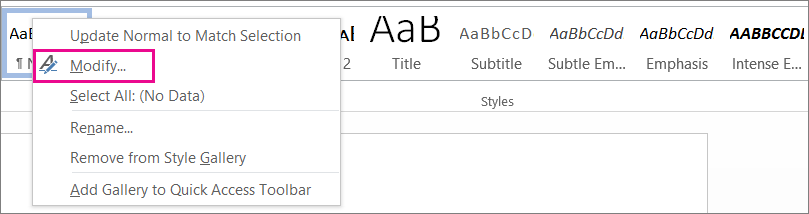
In this section, you can make any formatting changes you want.
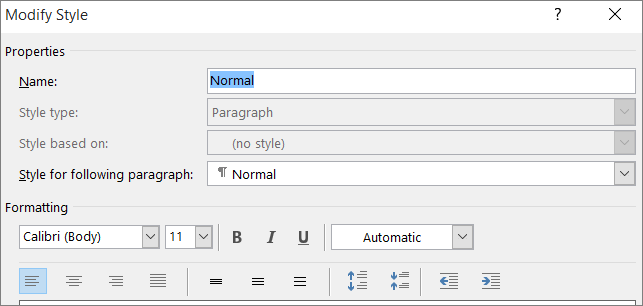
Then choose whether you wish this style for the current document or for all future documents.

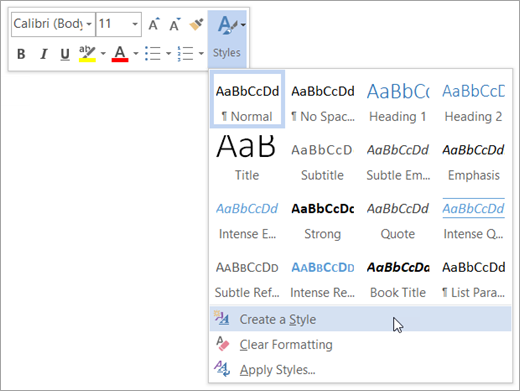
If you want to create a style from scratch, select the formatted text in your document to create a new style in the Styles gallery.
Right-click the text you wish to make into a Style, then click on Styles > Create a Style.
In Google Docs, you’ll format your ebook by working with this part a lot:
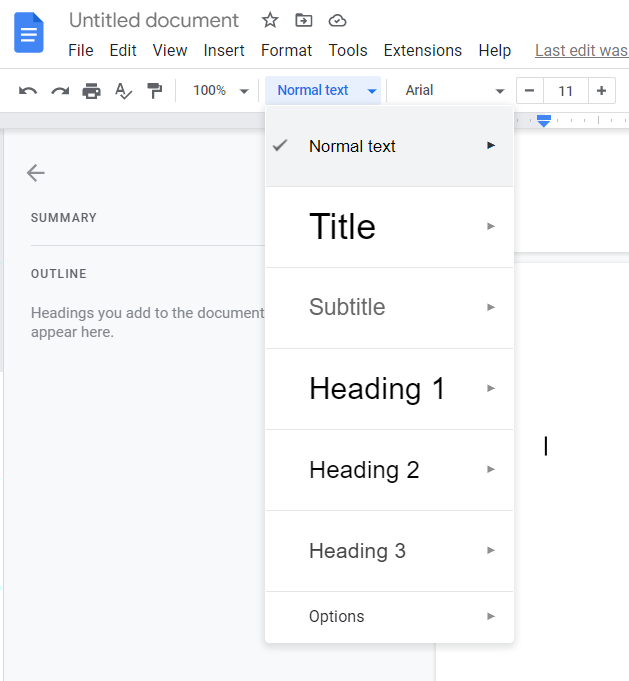
From here, you'll select your title and your headings. Whenever you change a paragraph's style (font, size, spacing) and you wish to update the entire body text to look like that, you can do this:
You will do the same with the headings or subtitles.
Headings
It is crucial for your headings (chapter titles and subtitles) to be marked as headings. Otherwise, the conversion software won’t recognize them and won’t use them to create the table of contents.
Also, if you mark them correctly as Headings, you can update the styles to match easier.
You simply have to repeat this for all your chapters and subchapters. It is enough to select Heading 1, and the formatting will automatically apply.
Now, you can do all the formatting you wish; just don’t forget to update the style once you are done.
2. Add front matter and end matter
Your book manuscript is now formatted properly. Your next task is to turn it into a book.
While your book manuscript can begin with the first chapter, your book can’t. You’ll need a cover, a title page, a copyright page, and a table of contents. At the end of the book, many people consider adding an Author bio and an Other books from the same author section.
For these, I suggest you save your book format and start on a new file.
All of these elements are referred to as "front matter" and "back matter." To learn more about optimizing your front and back matter, read our guide here.
3. Save the book format and convert it
Once your ebook manuscript is ready, save your file in a .docx format, then simply upload it to PublishDrive. We’ll do everything else.
After Converting Your Ebook
Once you've converted your ebook, it's time to publish! With PublishDrive, you can reach thousands of stores worldwide, including major retailers like Amazon.
You'll also have access to ebook promo tools, royalty-splitting services, and more.